Last Updated on January 10, 2024
Seasoning a griddle, whether it’s cast iron or cast aluminum, is a practice that not only protects the metal but also enhances its non-stick properties. Cast aluminum griddles, while lighter and less prone to rusting than cast iron ones, can still benefit significantly from proper seasoning. The process helps create a smooth, non-stick cooking surface, making it easier for you to whip up your favorite dishes without sticking or burning. In this article, we’ll explore how to season a cast aluminum griddle properly.
More information: Click The Link
What is Seasoning?
Seasoning is the process of applying a layer of fat or oil to a cooking surface and then heating it until it polymerizes, forming a protective, non-stick coating. This coating shields the griddle from the adverse effects of cooking, such as acidic foods or excessive moisture, preventing corrosion and damage. Additionally, a well-seasoned surface ensures an even heat distribution, leading to better cooking results.
Why Season a Cast Aluminum Griddle?
While aluminum doesn’t rust like cast iron, it can corrode over time, especially when exposed to acidic foods. A seasoned layer serves as a barrier between the aluminum and these harmful elements. Additionally, even though many cast aluminum griddles come with a non-stick surface, seasoning can enhance these properties, ensuring a longer lifespan for the griddle.

Related Article: How Much Does Aluminum Polishing Cost?
Steps to Season a Cast Aluminum Griddle:
- Cleaning the Griddle:
- Begin with a thoroughly cleaned griddle. Even if it’s brand new, it might have manufacturing residues that can affect the seasoning process.
- Warm, soapy water and a non-abrasive scrubber will suffice. Avoid using harsh detergents or metal scrubbers.
- After cleaning, rinse thoroughly and dry the griddle completely. It’s essential to remove all moisture, as any remaining can hamper the seasoning process.
- Choosing the Right Oil:
- The type of oil plays a vital role. Flaxseed oil, vegetable shortening, canola oil, and grapeseed oil are popular choices due to their high smoke points.
- The smoke point is essential because the oil needs to undergo polymerization – a process where the oil breaks down and reconstitutes itself as a solid layer on the griddle.
- Application of Oil:
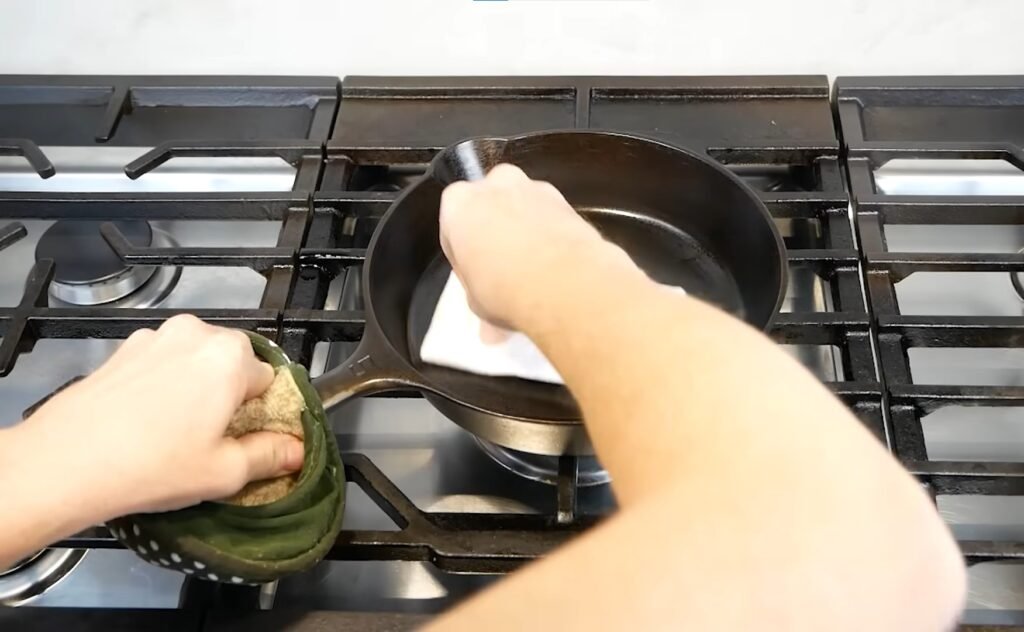
- Using a lint-free cloth or paper towel, apply a thin, even layer of oil across the griddle’s cooking surface. Ensure it covers every nook and cranny, but avoid pooling or excessive oil.
- It’s crucial to maintain a thin layer. Too much oil can lead to a sticky surface rather than a smooth, non-stick one.
- Heating the Griddle:
- Preheat your oven to around 400°F (204°C). If your griddle is too large for the oven, you can use a stovetop, but the oven method provides a more even seasoning.
- Place the griddle upside down in the oven. This ensures that any excess oil drips away and doesn’t pool on the surface.
- Allow the griddle to bake for at least an hour. During this time, the oil will polymerize, creating the desired seasoned layer.
- Cooling and Storing:
- After an hour, turn off the oven and let the griddle cool down inside. This gradual cooling ensures the seasoning sets well.
- Once cooled, store the griddle in a dry place. Ensure it’s protected from moisture, which can damage the seasoned layer.
Frequently Asked Questions
- What is the purpose of seasoning a cast aluminum griddle?
- Seasoning creates a non-stick surface and protects the griddle from rust and wear.
- What materials do I need to season my griddle?
- You’ll need a mild detergent, a soft brush or sponge, cooking oil (like vegetable, flaxseed, or canola oil), paper towels, and an oven or stovetop.
- How do I prepare my griddle for seasoning?
- Wash the griddle with warm, soapy water using a soft brush or sponge. Rinse thoroughly and dry completely.
- What type of oil is best for seasoning a cast aluminum griddle?
- High-smoke point oils such as flaxseed, canola, or vegetable oil are recommended.
- How do I apply the oil for seasoning?
- Apply a thin, even layer of oil to the entire surface of the griddle, including edges, using a paper towel or cloth.
- What is the correct process for seasoning the griddle in the oven?
- Preheat your oven to 350-400°F (175-200°C). Place the oiled griddle upside down in the oven and bake for an hour. Turn off the oven and let it cool completely inside.
- How can I season the griddle on a stovetop?
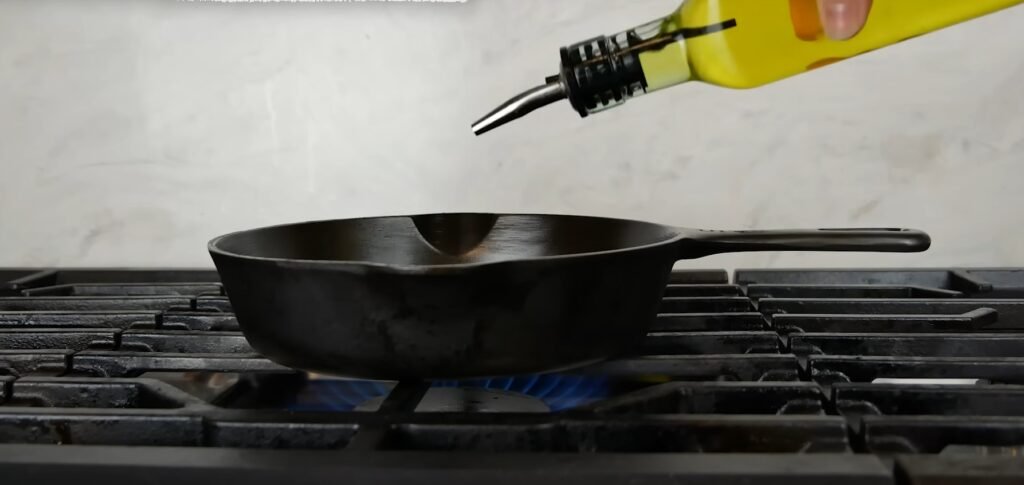
- Heat the griddle on medium heat. Once hot, apply a thin layer of oil and let it cook for 15-20 minutes. Turn off the heat and let it cool.
- How often should I re-season my cast aluminum griddle?
- Re-season whenever the surface starts to lose its non-stick properties or after cleaning with soap.
Maintenance and Re-seasoning:
A seasoned cast aluminum griddle requires proper care to maintain its pristine condition:
- Cleaning: Always avoid using harsh cleaning agents or metal scrubbers. Warm water, a soft cloth, or a gentle brush will suffice. Dry thoroughly after cleaning.
- Re-seasoning: Over time, with wear and tear, the seasoned layer may thin out or wear off. If you notice food sticking or the surface looking dull, it’s time to re-season. Follow the steps mentioned above.
- Avoid Cooking Acidic Foods: Foods like tomatoes or citrus can eat away at the seasoned layer. While occasional cooking is fine, regularly exposing your griddle to such foods can lead to a faster deterioration of the seasoning.
Conclusion
Seasoning a cast aluminum griddle ensures you get the best out of your cooking equipment. It’s a simple process that, when done correctly, can drastically improve the lifespan and performance of your griddle. By following the steps outlined and maintaining your seasoned surface, you can enjoy years of hassle-free, delicious cooking on your cast aluminum griddle. Remember, the key to a well-seasoned griddle is not just the initial process but also in how you maintain and care for it afterward. Happy cooking!


